

Auto Soap Dispenser manufacturers teach you how to install automatic soap dispensers
Release Time:
Feb 11,2022
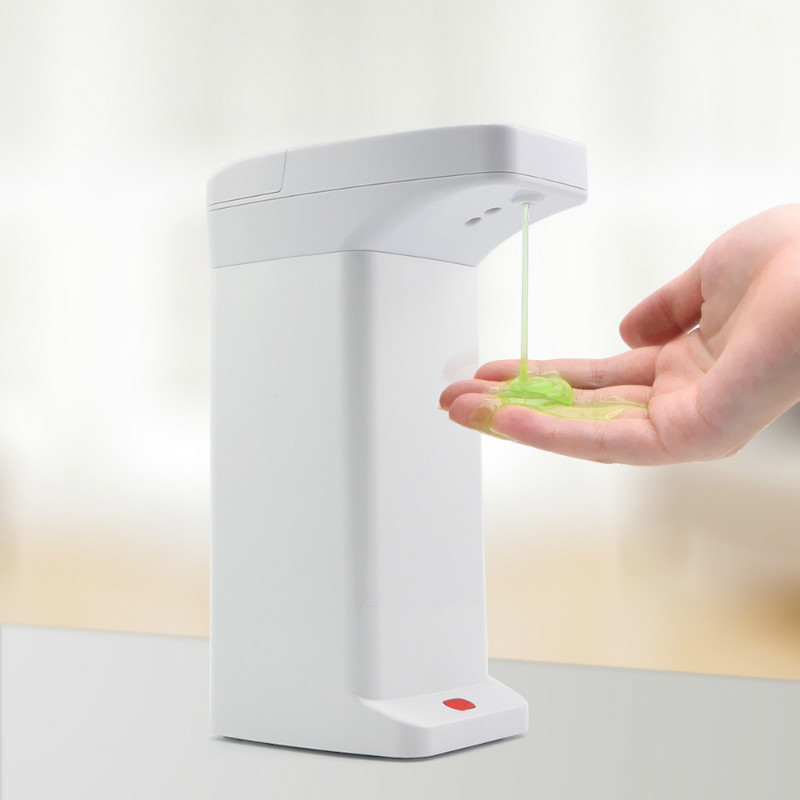
Many families will install Auto Soap Dispenser to facilitate daily use, but many people do not know how to install Auto Soap Dispenser after purchasing Auto Soap Dispenser.

Many families will install Auto Soap Dispenser to facilitate daily use, but many people do not know how to install Auto Soap Dispenser after purchasing Auto Soap Dispenser. So how to install Auto Soap Dispenser? The following Auto Soap Dispenser manufacturers will introduce you one by one.
Installation of Auto Soap Dispenser:
1. First, choose a suitable installation location, use an impact drill to drill a hole in the concrete wall, install the rubber plug in it, and then use screws to fix the metal frame on the wall.
2. Then fix the control box in the metal frame with screws, and then put the Auto Soap Dispenser on the metal frame. Make sure that the nozzle of the Auto Soap Dispenser and the bottom of the metal frame are at a vertical distance, otherwise the liquid will not be discharged.
3. Find a suitable position on the countertop and punch a 25mm hole, install the faucet in it, and fix it with a nut.
4. Then install the clamp on the pipe that conveys the soap liquid, then connect the soap liquid pipe to the conduit of the faucet with a joint, and fasten it with the clamp.
5. Install the relevant induction head cables, power cables and gear pump motor wires in the control box and fix them with nuts.
6. After the installation, carefully check whether the wiring of the Auto Soap Dispenser is firmly connected, and finally insert the Auto Soap Dispenser plug into the power socket.
Did you learn about the installation of Auto Soap Dispenser today? Act now.


Add :No 3-1 Bldg., No 8, Pingxi 7 Rd., Nanping S&T Park, Zhuhai, Guangdong


IDENTIFY ATTENTION
Follow us